Complete Bathroom Cleaning Checklist [Printable]
Complete Bathroom Cleaning Checklist (13 Steps to a Sparkling Powder Room)
Clean your bathroom the right way, with our complete checklist.
Keeping your bathroom clean can be a drag. When was the last time you looked at the tile in your shower and thought, “We are disgusting pigs”?
We know, it happens to all of us.
One of the reasons the bathroom is a prime spot for build up is because of how we clean. When life gets busy, most of us forget to do the simple maintenance cleaning. Instead, we only spot clean what looks dirty.
The problem?
Tile and grout often don’t “look dirty” until the grime builds up so much that it’s a big job to scrub.
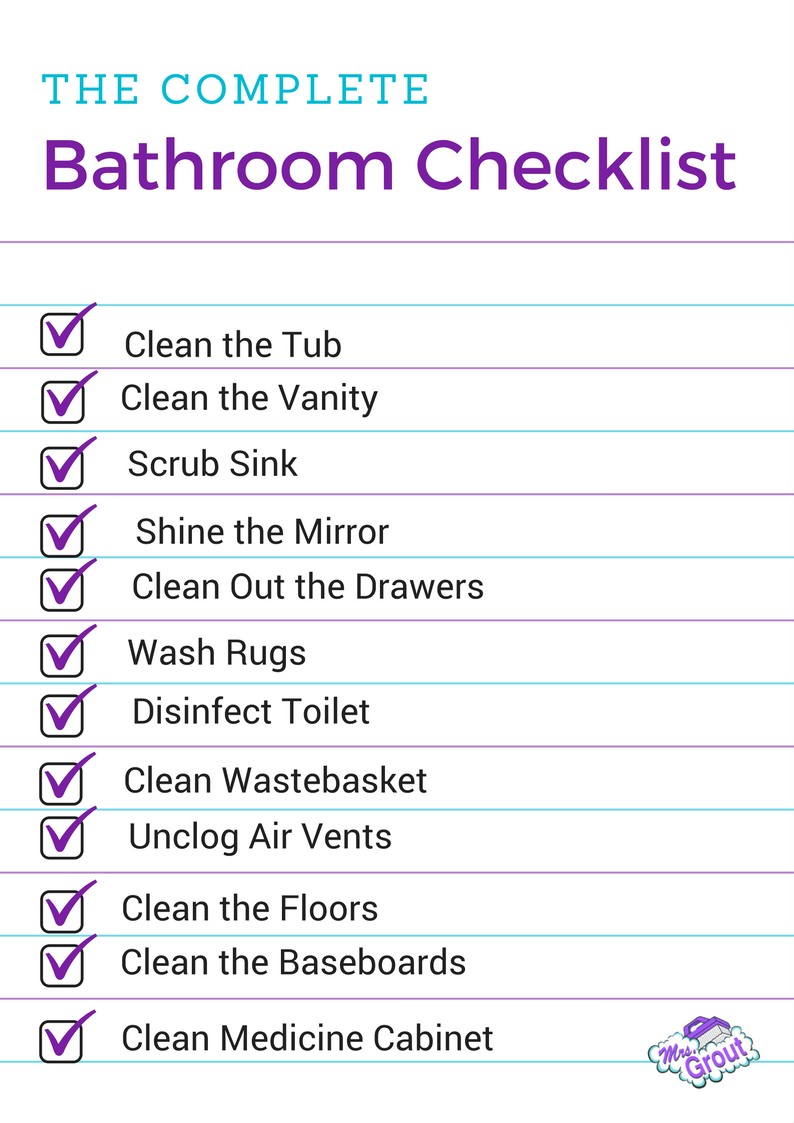
So many of our customers, at Mrs. Grout, ask us how to keep their bathrooms in top shape. We decided it was time to help. Print out our complete checklist, tape it inside your medicine cabinet door and check off one small task each day. Or, take 45-minutes to an hour once per week to do it. Whichever works better for you. The regular weekly cleaning will keep you free of huge jobs that leave you overwhelmed each spring.
Complete Bathroom Cleaning Checklist
Each of these tasks should be done at least once per week, if you want to avoid big headaches down the road. Your bathroom checklist includes...
1. Clean the Tub and/or Shower.
The first, and often most difficult, place to tackle is the bathtub and/or shower. Tile and grout can quickly become a big job, when left unattended for more than a few days. If you are already dealing with a lot of mold, damaged grout, or tough water stains, call an expert like Mrs. Grout to help you. Otherwise, follow these steps to keep your tub and shower clean:
Mix up a home brew for bathroom bliss. It isn’t necessary to buy expensive and potentially dangerous chemical cleaners for your shower. Instead, use an empty spray bottle to mix a quarter cup of vinegar, a few drops of lemon essential oil, two drops of Dawn dish detergent and fill with water. Use this solution to spray your shower daily or for heavier cleaning with a sponge once or twice per week.
Add a little baking soda. For light mildew and water spots a little baking soda might be necessary. Mix up a thin paste in a bowl and use a soft-bristle brush (A toothbrush works great for this) to gently scrub the toughest spots.
Wipe down glass and/or tub with your spray. After every shower, spray and wipe down glass or tub. This will keep water stains from building up in the first place.
Rinse and repeat. The key to keeping your shower in great shape is to spray and wipe it down often. Keep mold and mildew at bay by spraying your shower with your bathroom bliss solution at the end of your shower, then wipe it down every few days.
Once you start cleaning your shower regularly, you might want to consider trading in your bar soap for a liquid version. The residue from bar soap is difficult to clean and the most likely to build up in your shower. Once the new bottle of shower gel is on the shelf, look up a bit to address step two...
2. Wipe down the shower rods and rings.
If your bathroom has a tub/shower combo, it probably also has a shower rod and curtain. The rod and rings are often an overlooked place where mildew and stains build up. Once per week, take two minutes to grab a damp washcloth and wipe it down.
3. Clean the Vanity.
The bathroom sink and vanity area are prime location for muck and yuck. Between makeup, hair care products, men’s shaving, and toothpaste, it can become a cornucopia of buildup and residue that can leave you scrubbing for hours or resorting to the harshest chemicals.
How do you avoid this sink gunk?
Wipe it down every day. Clean it off once per week.
Keep a bottle of your Bathroom Bliss solution under the sink with some paper towels. At the end of your makeup routine, simple wipe down the vanity before heading out the door.
Once per week, take everything off the top and give the vanity a good scrubbing. Your mother was right, an ounce of prevention is worth a ton of cure.
4. Scrub the Sink Fixtures.
You know that little drain cover or stopper in your sink? Have you ever removed it?
We have. It’s a dark wet place, so mold likes to live there.
Once per week, grab your baking soda solution and scrub the drain block and fixtures of your sink/s. Rinse them. Then, spritz a paper towel lightly with windex and wipe them down. No more grungy faucets and molded drains for you!
5. Shine the mirror.
That spot you thought was a pimple? It’s actually muck on your mirror.
Once your sink and vanity are shiny, use the same Bathroom Bliss Cleaner to lightly spray the mirrors. If you have an old newspaper, use it to wipe down the mirrors. If not, paper towels will do too.
6. Clean out the drawers.
Apartment Therapy recommends saving the drawer organizing until after the bathroom is clean and we agree. Just don’t do the floors first. Dust, makeup and unknown junk often end up falling out during this stage. So save the floor scrubbing until after your drawers and cabinets are organized.
Unlike the other items on this list, you only have to clean up drawers once, if you keep things organized from then on out. We like these expandable drawer organizers from InterDesign to help you keep everything easy to see and accessible.
7. Clean out the medicine cabinet.
Like drawers and cabinets, the medicine cabinet can end up being a landing spot for lots of stuff you don’t need or use. Take a few minutes every few months to clean it out, wipe down the insides, and reorganize.
8. Disinfect the toilet.
Your least favorite job often gets ignored until a suspicious ring of scum starts to form around the bowl. That’s the point when it becomes a must-do job. Instead, why not use that trusty Bathroom Bliss cleaner to wipe down the outside of the bowl once per week? Then, every few days, pour a few drops of tea tree oil and ⅛ cup of vinegar into the bowl before you get in the shower. Then, drop two denture cleaner tablets in the bowl and close the lid (so puppies or kittens don't get into it) and let it sit overnight.
Viola! You’re toilet is clean and odor-free.
9. Clean the Wastebasket.
We’re not brave enough to talk about all the things that end up in your bathroom trash can. That’s why the bathroom cleaning checklist wouldn’t be complete without a bit of attention to the wastebasket.
If you keep a liner in the can, all you have to do is change it once per week. We like these cute and biodegradable liners from Compac Design.
For unlined cans, you will need to rinse it out every few weeks. Empty the trash, then set the can on the floor of your shower, turn the water on for a second, turn the can over and let it dry. It’s the easiest and least messy way to get all the gunk out of the bottom without making a mess of your sink or your manicure.
10. Unclog the air vents.
An often neglected part of your bathroom clean up is the air vents. Since you’re creating steam and residue in the bathroom constantly, these can get moldy and clogged quickly. Once per month, pull out a step ladder and climb up high with your bottle of bathroom bliss homemade cleaner and a screw driver. Then follow these instructions:
Using the screwdriver, remove the vent.
Wipe the inside down with a paper towel and your cleaner.
Climb down from the ladder and take a few minutes to give the vent cover a thorough cleaning.
Replace the vent cover.
This process might sound like a pain, but it helps keep the air healthy and the bathroom shiny.
11. Clean the baseboards.
Just like the air vent, baseboards are often overlooked. Take time to clean them every month or so and your floors will always look their best (Learn more about keeping your floors in top shape here).
12. Wash and air-dry the rugs.
Any rugs on the bathroom floor will pick up lots of hair, dust, and toiletry residue. We recommend picking them up and running them through the wash (Check the label to make sure yours are machine washable, most bathroom rugs are) every weekend. Lay them out in the sun to dry and keep any weird smells out of your bathroom’s permanent odor.
13. Clean the floors.
The final task on your checklist is to tackle the floors. Sweep or vacuum every couple of day. Once per week, grab your spray bottle again and using a rag to spray and wipe the tile down. Most bathrooms are too small to make a big mop practical. It’s easier to clean the floor with spray bottle and mop.
Now that you understand how to clean your bathroom quickly and easily, download a printable copy of the complete checklist for your medicine cabinet door by clicking here. Then, it’s time to get to work. We promise, if you follow our tips this not-so-fun activity will be done in no time.
Do you have a great tip for cleaning the bathroom that we missed on our list? Let us know in the comments and you could be featured in an upcoming spotlight.

